Skip to content
Free Economy Shipping on any US order over $99!
hamburger
Search our store
<-
Search
Sign In / Sign Up
My Wishlist
Cart
0
Search our store
<-
Search
Sign In / Sign Up
Fountain Pens
back to
Fountain Pens
Featured
Featured
New Pen Arrivals
Best Selling Pens
Sales & Deals
Coming Soon
Limited Editions
Shop Pens by Color
Gift Cards
View All Fountain Pens
Shop by Category
Shop by Category
Starter Pens
Next Level Pens
Entry-Level Gold Nib Pens
Demonstrator Pens
Flex & Soft Nib Pens
Italic & Stub Nib Pens
Maki-e, Raden, and Urushi Pens
Pocket/Compact Pens
Vintage-Inspired Pens
Rollerballs & Other Pens
New Arrivals
New Arrivals
See what's new from your favorite brands!
Best Sellers
Best Sellers
Our most popular fountain pens!
Starter Pens
Starter Pens
Explore our recommendations for beginners.
Ink
back to
Ink
Featured
Featured
New Ink Arrivals
Best-Selling Inks
Random Ink Samples
Sales & Deals
Coming Soon
Gift Cards
View All Ink
Shop by Category
Shop by Category
Bottled Ink
Ink Samples
Ink Sample Package Sets
Ink Cartridges
Rollerball Refills
Ink Gift Sets
Shop by Property
Shop by Property
Scented Inks
Shading Inks
Sheening Inks
Shimmering Inks
Water-Resistant Inks
Shop By Color
Shop By Color
Black
Pink
Blue
Purple
Brown
Red
Green
Turquoise/Teal
Grey/Silver
Yellow
Orange
White/Clear
Paper
back to
Paper
Featured
Featured
New Paper Arrivals
Best-Selling Paper
Sales & Deals
Coming Soon
Gift Cards
Shop All Paper
Shop by Paper Type
Shop by Paper Type
Bullet Journaling
Coloring & Ink Swatches
Index Cards
Notebooks
Notepads
Planners
Stationery
Shop Notebooks by Size
Shop Notebooks by Size
A4
A5
A6
B5
Pocket
Traveler's Passport
Traveler's Regular
Other Sizes
Shop All by Size
2026 Planners
2026 Planners
Get ready for the new year with a 2026 dated planner.
Traveler's Company
Traveler's Company
The customizable notebook system designed for on-the-go.
Accessories
back to
Accessories
Featured
Featured
New Arrivals
Best Sellers
Sales & Deals
Package Sets
Fountain Pen Starter Sets
Gift Cards
Shop All Accessories
Pen Accessories
Pen Accessories
Converters
Pen Cases
Pen Cleaning & Tuning Supplies
Replacement Nibs
More Accessories
More Accessories
Blotters
Books & Educational Supplies
Coloring & Ink Swatch Supplies
Inkwells
Pen Loops
Stickers
Traveler's Notebook Accessories
Washi Tape
Everything Else
Coloring & Ink Swatch Supplies
Coloring & Ink Swatch Supplies
There are lots of ways to use your fountain pen ink besides writing. Get creative with these neat accessories.
Store Your Fountain Pens in Style
Store Your Fountain Pens in Style
Whether you're taking your pens on-the-go or need to organize and protect your collection, we've got you covered.
Brands
back to
Brands
A - C
A - C
Apica
Aston Leather
BENU
Clairefontaine
Col-o-Ring
Colorverse
Conklin
CursiveLogic
D - F
D - F
David Oscarson
De Atramentis
Delta
Diamine
Diplomat
Edison
Endless
Esterbrook
Exacompta
Ferris Wheel Press
Franklin-Christoph
G - K
G - K
G. Lalo
Galen Leather
Girologio
Goulet
Ink Miser
Iroful
Itoya
Jacques Herbin
Jinhao
Kakimori
Kaweco
Kolo
L - N
L - N
Laban
LAMY
Leuchtturm1917
Magna Carta
Maiora
Maruman Mnemosyne
Montegrappa
Monteverde
Namiki
Noodler's
O - P
O - P
Opus 88
Organics Studio
Original Crown Mill
Pelikan
Pilot
Pineider
Platinum
Private Reserve
PuniLabo
R - S
R - S
Retro 51
Rhodia
Rickshaw Bagworks
Robert Oster
Rohrer & Klingner
Sailor
Schmidt
Schon DSGN
SCRIBO
Sheaffer
S.T. Dupont
T - W
T - W
TACCIA
Tom Hessin
Tomoe River
Traveler's Company
TWSBI
Visconti
Waldmann
Wearingeul
New Arrivals
back to
New Arrivals
Sales & Deals
back to
Sales & Deals
Featured
Featured
On Sale
Gift with Purchase
Package Sets
The Bottom Shelf
Gift Cards
All Sales & Deals
On Sale
On Sale
See what's on sale here!
Free Ink!
Free Ink!
Get a free 30ml PR Infinity Ink with select pens.
Package Sets
Package Sets
Save when you purchase these giftable package sets!
The Bottom Shelf
The Bottom Shelf
These gently used or scratch-and-dent items are a great way to save big!
What's Trending
back to
What's Trending
Featured
Featured
Best Sellers
Goulet Exclusives
Limited Editions
Staff Picks
New Arrivals
Coming Soon
Gift Cards
Trending
Trending
Coffee & Tea ☕️
Everyday Carry
Fountain Pen Starter Sets
Glow-in-the-Dark Pens
Ombré Pens
Sparkles ✨
Fall Favorites 🍁
Limited Editions
Limited Editions
Special edition and limited production offerings.
Goulet Exclusives
Goulet Exclusives
Products you’ll only find here at Goulet Pens.
Coming Soon
Coming Soon
Get on the notification list for upcoming new arrivals.
Blog & Guides
back to
Blog & Guides
Featured Articles
Featured Articles
Beginner's Guide
Tips & Tricks
Product Reviews
Shopping Guides
Special Edition History
Fountain Pen Anatomy
Glossary of Terms
Cartridge/Converter Guide
Getting Started
All Blog Articles
Shop Gifts
Shop Gifts
Boxed Gift Sets
Gifts Under $35
Gifts Under $50
Gifts Under $100
Gifts Over $100
Gift Cards
Shop All Gifts
Comparison Tools
Comparison Tools
SWAB SHOP
NIB NOOK
PEN PLAZA
Fountain Pen 101
Fountain Pen 101
Our five-video series to help you get started with fountain pens.
Goulet Pens Blog
Goulet Pens Blog
Product reviews, tips & tricks, top 10 lists, and more!
Search
0
Search our store
<-
Search
View All Results
Sorry, nothing found for "
"
Your Cart
(
0
item)
View Cart Details
View Cart Details
icon-close
Close Cart
You're
away from free shipping!
You qualify for free shipping!
*Applies to US only
You're
away from free shipping!
You qualify for free shipping!
*Applies to Canada only
You're
away from checking out!
You qualify for checkout!
*Applies to UK only
*Applies to US only
*Applies to Canada only
*Applies to UK only
+ SEE All Cart Items
- Show Less
Your cart is currently empty.
Continue Shopping
You may also consider...
Surprise Me! Random Ink Sample
$2.25
Add to Cart
Goulet 5ml Ink Syringes (Set of 2)
$5.50
Add to Cart
Goulet Pens Blog
Welcome to our blog! Here you’ll find all kinds of educational fountain pen content, including product reviews, tips & tricks, and so much more.
Search Blog
BACK TO ALL POSTS
View All Beginner's Guide
Fountain Pen 101
Pen Basics
Pen Cleaning & Tuning
Pen Filling
Ink Education
Paper Basics
Brand Overviews
View All Tips & Tricks
Hacks & How-To's
Handwriting & Art
Troubleshooting
View All Product Reviews
Pen Reviews
Ink Reviews
Paper Reviews
Accessory Reviews
View All Shopping Guides
Top Pens
Top Inks
Gift Ideas
Lifestyle
SPECIAL EDITION HISTORY
BACK TO BLOG HOME
BEGINNER'S GUIDE
View All Beginner's Guide
Fountain Pen 101
Pen Basics
Pen Cleaning & Tuning
Pen Filling
Ink Education
Paper Basics
Brand Overviews
TIPS & TRICKS
View All Tips & Tricks
Hacks & How-To's
Handwriting & Art
Troubleshooting
REVIEWS
View All Product Reviews
Pen Reviews
Ink Reviews
Paper Reviews
Accessory Reviews
SHOPPING GUIDES
View All Shopping Guides
Top Pens
Top Inks
Gift Ideas
Lifestyle
SPECIAL EDITION HISTORY
BACK TO BLOG HOME
Featured Blog Post
What is a Fountain Pen?
Beginner's Guide
Fountain Pen 101
Popular Posts
Cartridge/Converter Compatibility Guide
Common Paper Sizes: A Guide
Pilot Custom Pens Explained
View by Category
View All Posts
From Our Beginner’s Guide
View More Posts
View More Posts
The Latest from Tips & Tricks
View More Posts
View More Posts
Our Latest Product Reviews
View More Posts
View More Posts
All Our Shopping Guides
View More Posts
View More Posts
Special Edition History Blogs
View More Posts
View More Posts
Top Pink Fountain Pen Inks
Shopping Guides
Top Inks
Coffee & Tea Inspired Pens and Inks
Shopping Guides
Top Pens
Diplomat Aero Exclusive Special Edition History
Special Edition History
Top Brown Fountain Pen Inks
Shopping Guides
Top Inks
Top Yellow Fountain Pen Inks
Shopping Guides
Top Inks
Retro 51 GPC Exclusive Limited Edition History
Special Edition History
Monteverde Innova Special Edition History
Special Edition History
BENU Euphoria Refreshment Collection Exclusives
Special Edition History
Top Sheening Inks
Shopping Guides
Top Inks
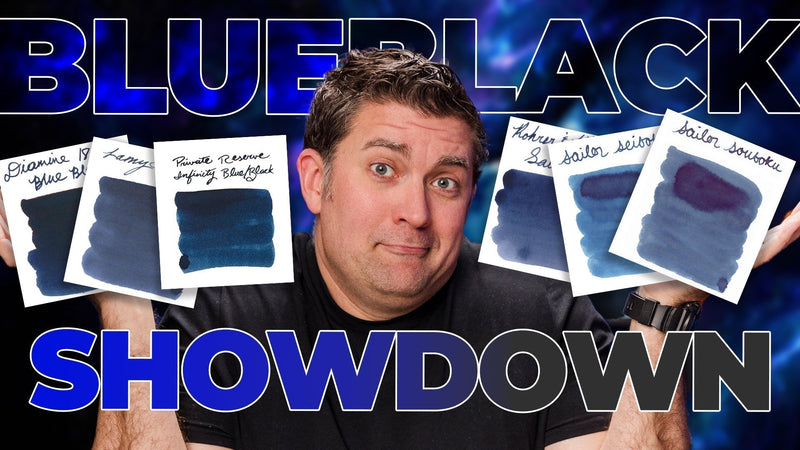
Top Blue Black Inks
Shopping Guides
Top Inks
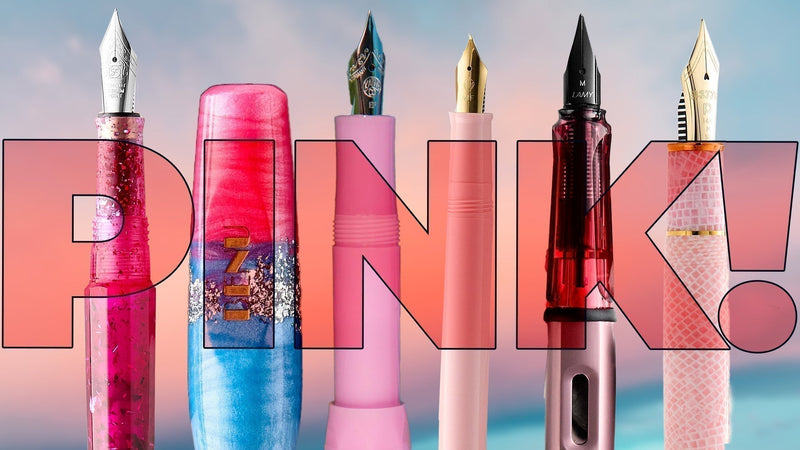
Top Pink Pens
Shopping Guides
Top Pens
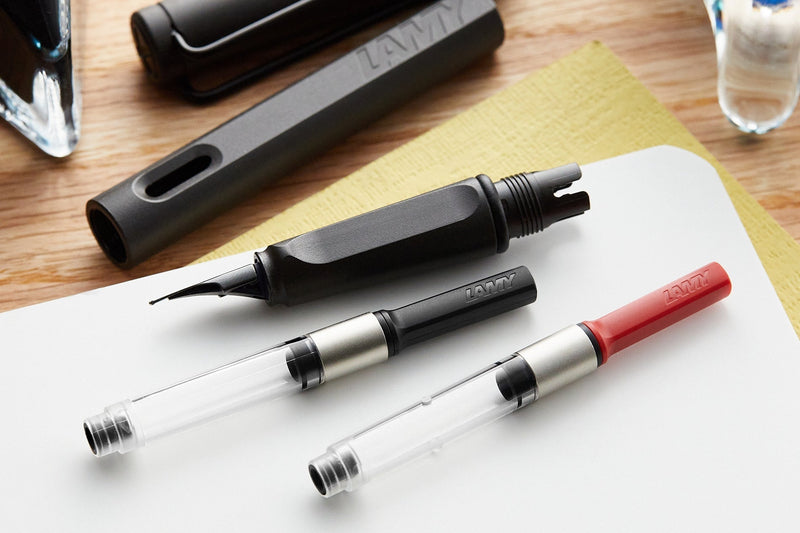
LAMY Z27 & Z28 Converters: What's the Difference?
Beginner's Guide
Pen Filling
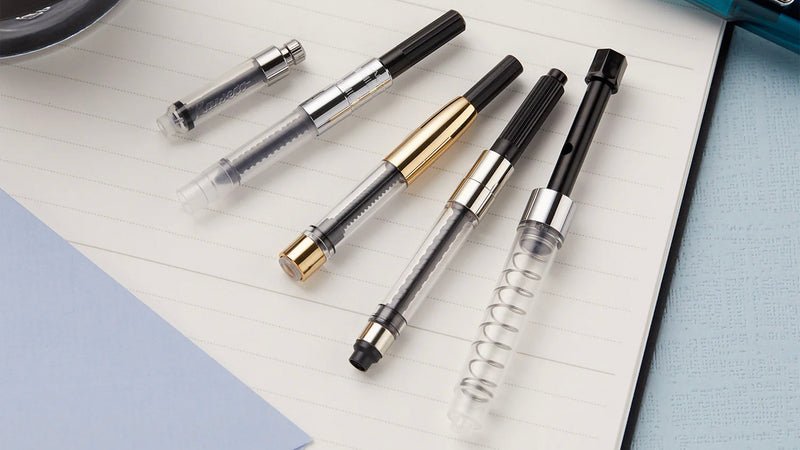
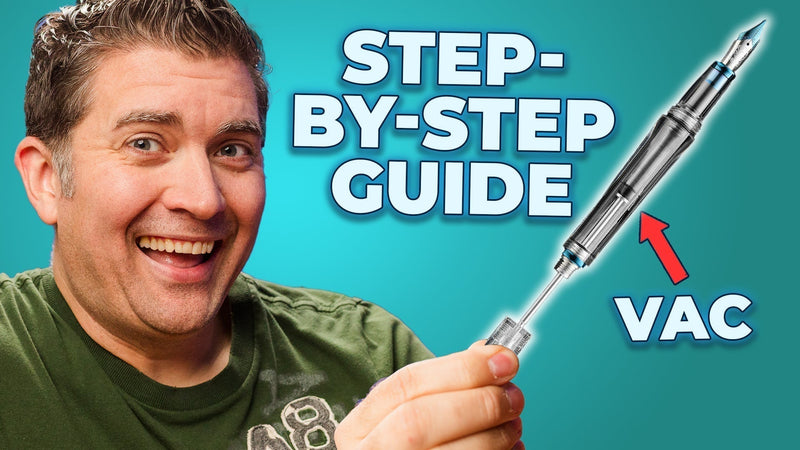
How to Fill a Vacuum-Filling Fountain Pen!
Tips & Tricks
Hacks & How-To's
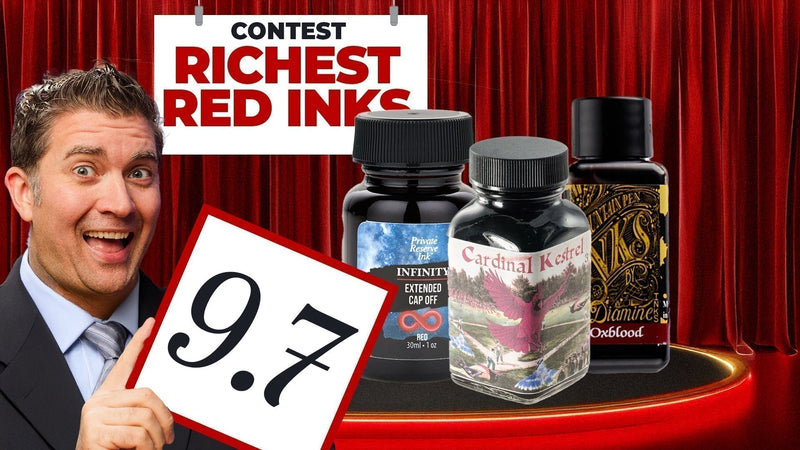
Richest Red Fountain Pen Inks
Shopping Guides
Top Inks
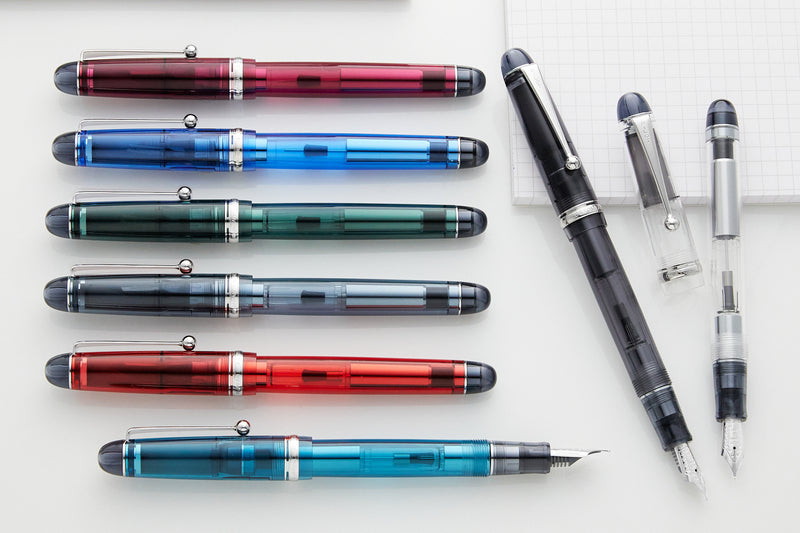
Top 10 Stealthiest Fountain Pens
Shopping Guides
Top Pens
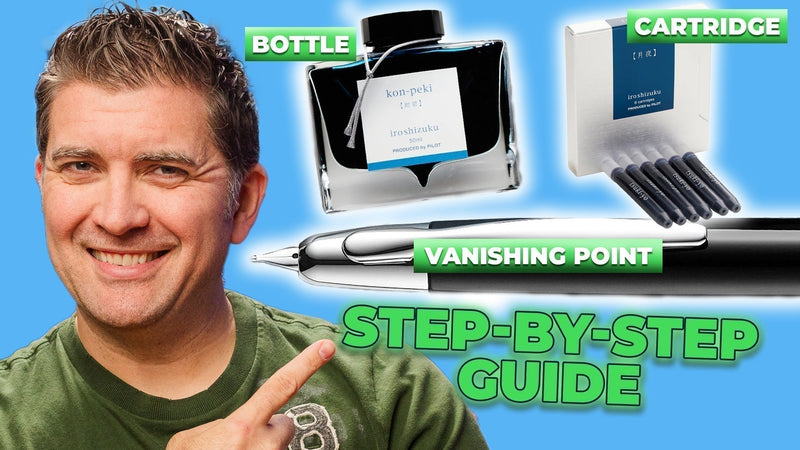
How to Fill a Pilot Vanishing Point
Beginner's Guide
Pen Filling
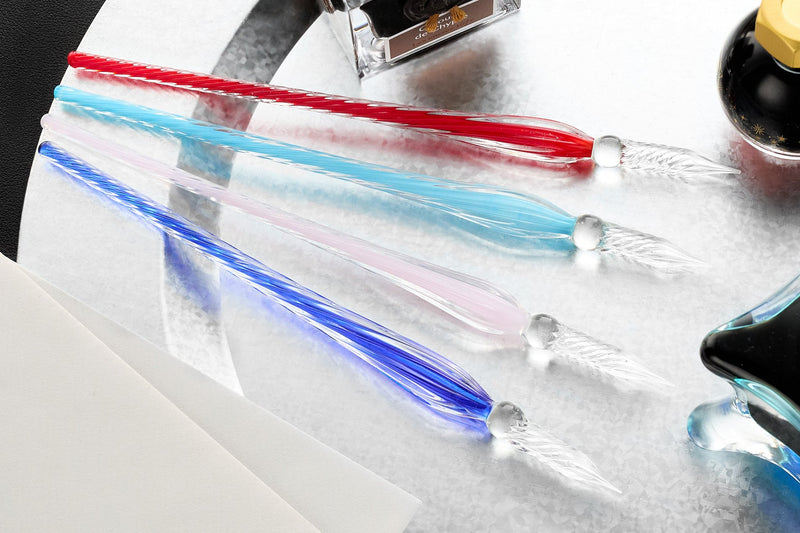
Jacques Herbin Glass Dip Pens
Reviews
Pen Reviews
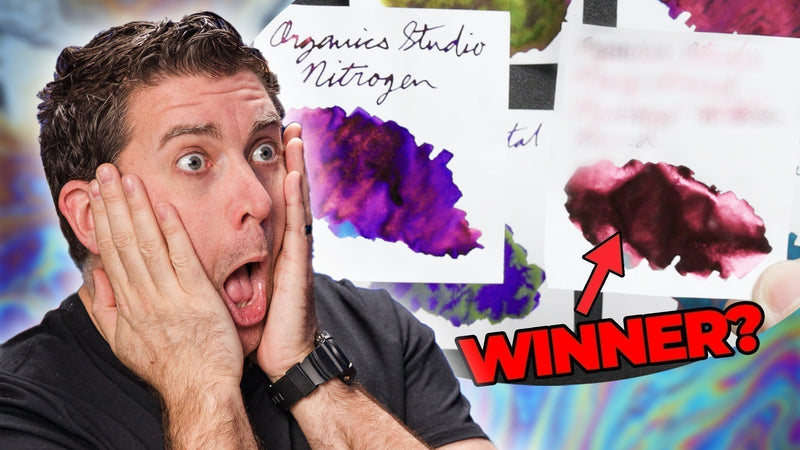
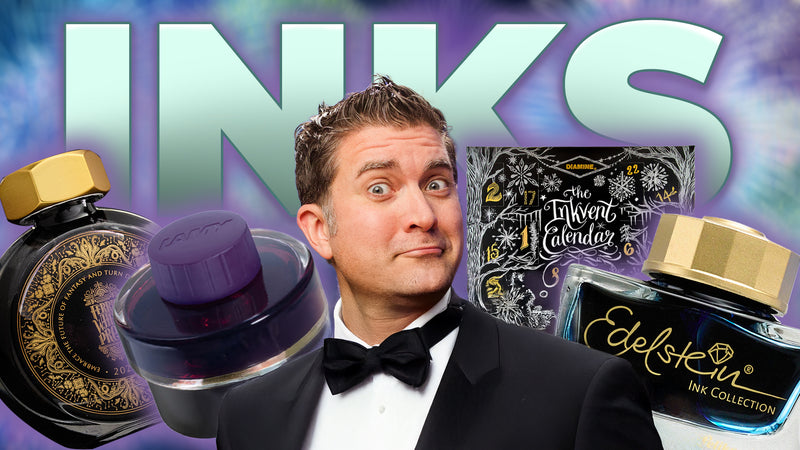
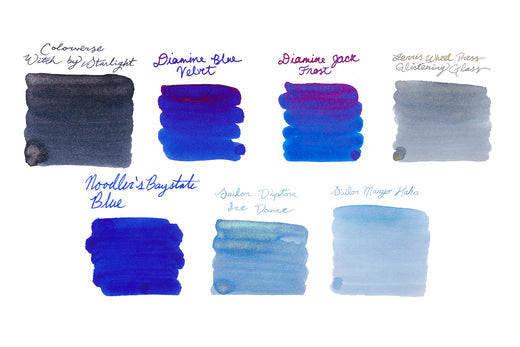
Hottest Inks of 2024!
Shopping Guides
Top Inks
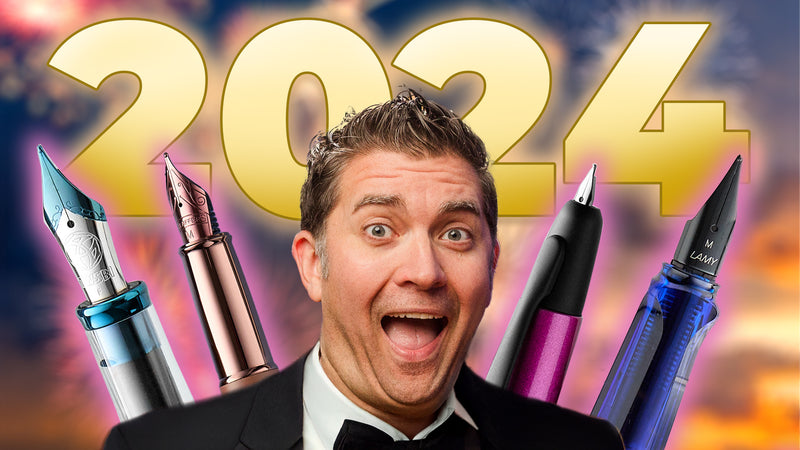
Hottest Pens of 2024!
Shopping Guides
Top Pens
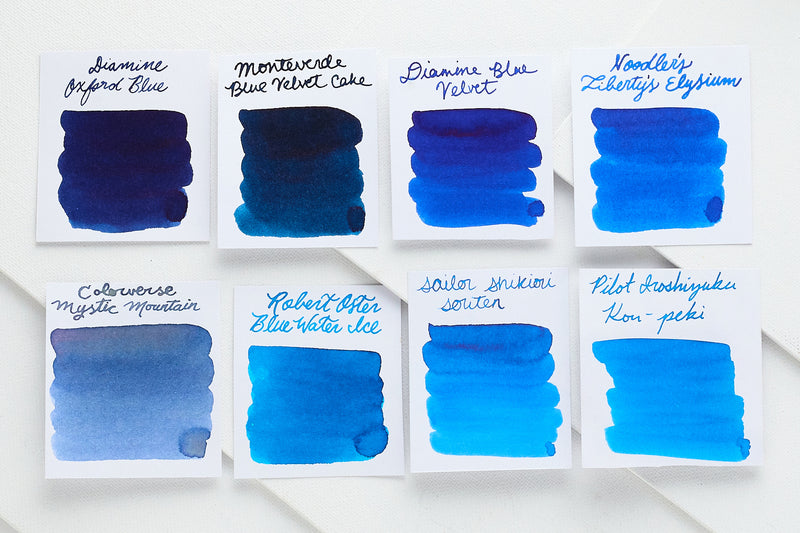
Must-Try Special Blue Inks!
Shopping Guides
Top Inks
Must-Try Standard Blue Inks!
Shopping Guides
Top Inks
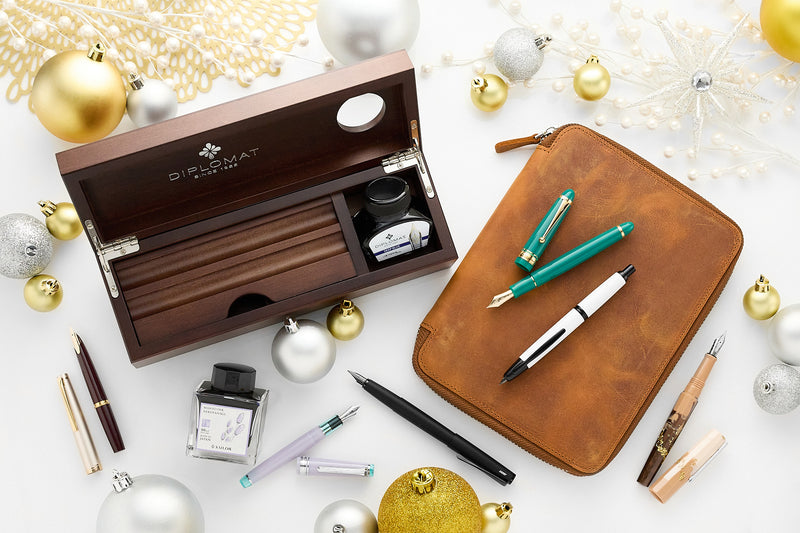
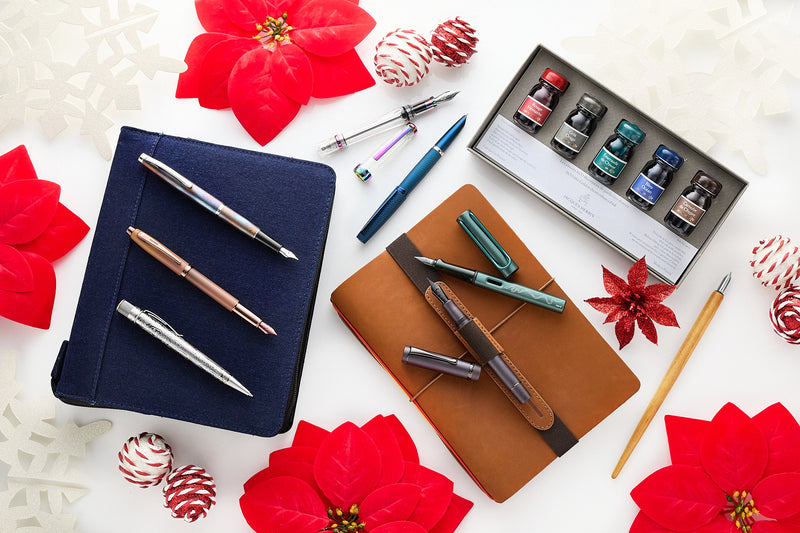
Top 5 Fountain Pen Gifts Over $100!
Shopping Guides
Gift Ideas
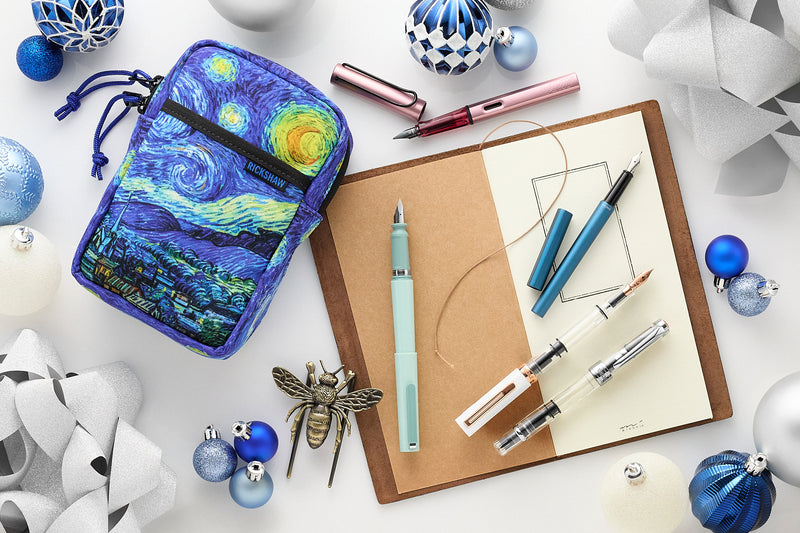
Top 5 Fountain Pen Gifts Under $100!
Shopping Guides
Gift Ideas
Top 5 Fountain Pen Gifts Under $50!
Shopping Guides
Gift Ideas
1
2
3
…
19
Next »
Close